Guides
Repairing Camping Gear in the Field and at Home
A zip, a torn fabric, a snapped pole, a leaking mattress: four faults cover almost everything, and a small repair kit fixes them all.
6 min read
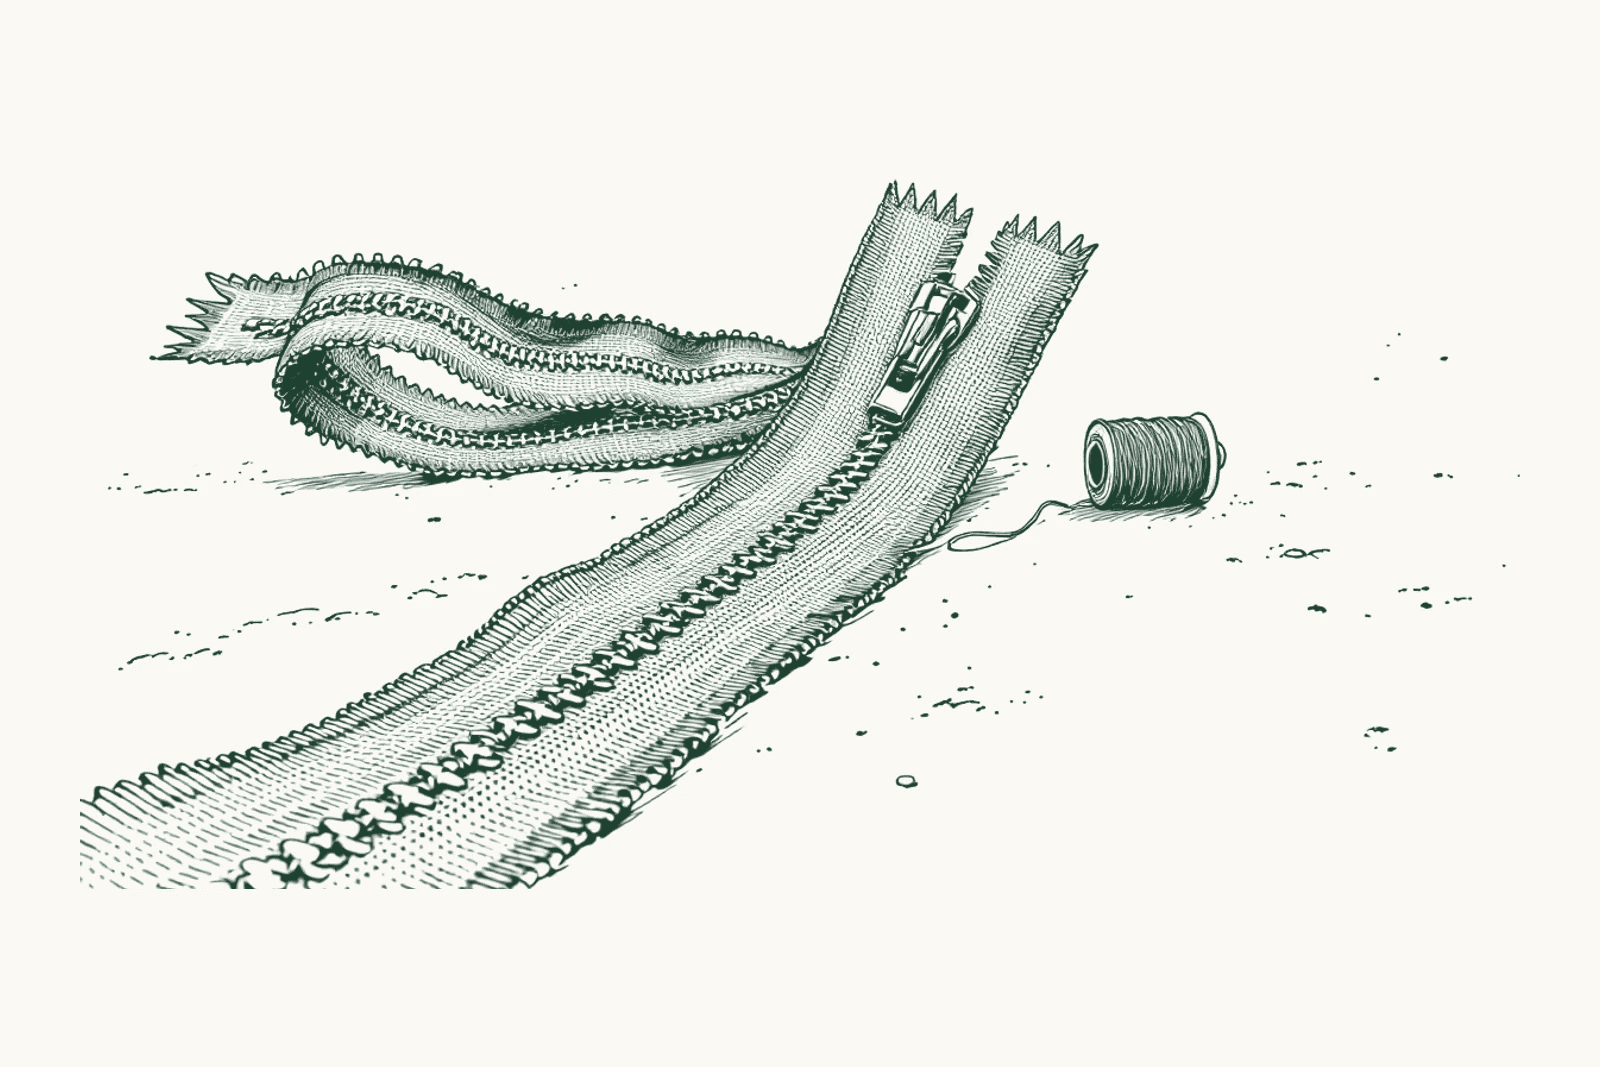
Four faults account for almost everything that goes wrong with a tent, a sleeping bag or an air mattress: a zip that no longer closes, a tear in the fabric, a bent or snapped pole, a slow air leak. None of them justifies replacing the gear. A repair kit weighing a couple of hundred grams and small enough for a jacket pocket sorts out all four, whether you are in the field or back home.
Replacing a whole tent because one slider has given up is the most expensive habit in camping, and the easiest to break. A proper repair kit deserves its own line on a camping gear checklist, right alongside the first-aid kit.
The zip: worn slider or broken teeth?
A zip that reopens behind the slider is almost never a broken zip. In the vast majority of cases the slider’s jaws have simply spread with wear, so it no longer squeezes the teeth together enough to lock them. The diagnosis is straightforward: look at the teeth just after the slider has passed over them. Intact but still gaping, the slider is at fault. Missing, bent or flattened teeth mean the zip itself is damaged, and no new slider will change that.
For a slider that has only spread slightly, a pair of flat pliers usually does the job: gently squeeze both jaws, a little at a time, testing the closure between each squeeze so you don’t overdo it and jam the slider solid. Once that stops working, replacement sliders exist that clip straight onto the existing zip tape without unpicking the whole thing; you just need to find the size, stamped on the old slider or on the teeth. Genuinely broken teeth are a different repair altogether and usually mean replacing the entire zip, a job for a seamstress or a repair specialist that only makes sense on gear worth keeping.
The most common cause of wear is grit: sand and dust work their way between the teeth and scratch the metal every time the slider passes over. Rinsing the zip with fresh water after a beach trip or a dusty pitch, then letting it dry fully before packing the tent away, does more for its lifespan than any product. A dry lubricant spray, or simply rubbing a stub of candle wax along the teeth, cuts friction afterwards and slows the wear on the slider.
A tear in the fabric
Self-adhesive ripstop patches deal with most tears in tent fabric, tarps or rucksacks. The rule that makes a patch last is simple: a clean, fully dry surface before you stick it down, and rounded corners on the patch itself, never a sharp edge that catches on something and eventually peels. For a tear that goes right through the fabric, a patch on both sides holds better than one on the outside alone, because tension pulls on both faces at once.
On a seam, a patch does nothing useful: water gets in through the needle holes, not through a hole in the fabric, and it’s seam sealant that closes those up. A long or ragged tear, or one sitting on a stress point such as a roof corner or a guy-line attachment, holds better sewn with a zigzag stitch and then reproofed over the stitching itself, otherwise the new needle holes simply recreate the same weakness.
A bent or broken pole
Most tents come with a small repair sleeve, a split metal tube that slides over the break. Slide it over the damaged section, tape both ends firmly with a strong fabric tape so it can’t creep along the pole, and the structure regains enough rigidity to see out the rest of the trip. It isn’t a permanent fix, but it’s usually enough to avoid sleeping under a sagging flysheet; pole material is worth weighing up at the point of buying a tent in the first place, covered in how to choose a camping tent.
The other common failure is the internal shock cord, the elastic that holds the pole sections together and snaps them into place when pitching. After a few seasons of UV exposure and repeated flexing it goes slack, the sections come apart when you take the tent down, and the pole ends up as a loose pile in its sleeve. Replacing it means threading the old cord out, feeding a new length through with a bodkin or similar needle, and tensioning it just enough that the sections stay together without stopping the ferrules seating properly.
A mattress that keeps deflating
A slow puncture is the hardest fault to track down, precisely because there is nothing to see. The method that works: inflate the mattress hard, run soapy water over the whole surface section by section, and watch for small bubbles forming. Failing soapy water, an ear pressed against the mattress in a quiet tent often picks up the hiss, particularly at night.
The repair kits sold with most mattresses work on the same principle as fabric patches: clean, dry surface, rounded patch pressed flat. Before hunting for a hole in the fabric, check the valve, which is the other major cause of leaks and takes seconds to test by dunking just that area in soapy water rather than the whole mattress. The choice between an air mattress and a camp bed partly comes down to this fragility: a camp bed simply has nothing that can be punctured.
Reproofing a flysheet
Two separate things keep a flysheet waterproof, and they age independently. The durable water repellent, or DWR, on the outer face makes water bead up; worn away by UV, abrasion and accumulated dirt, it lets water spread out and soak into the surface of the fabric, even while the inside stays dry for a while thanks to the coating underneath. A DWR treatment applied after a proper clean restores that beading for a season or two, and it’s the simplest, most worthwhile repair on this whole list.
The polyurethane coating on the inside of the fabric is what actually keeps water out. With age and heat it can hydrolyse: the inner face turns tacky to the touch, then starts flaking off in small pieces. That’s usually close to the end for the tent, because recoating a coating that has already broken down gives a patchy result even with a reproofing product applied from the inside; you might buy a season, rarely much more. A leaking flysheet doesn’t just affect the tent, either: a sleeping bag that picks up damp loses much of its insulating power, whether it’s filled with down or synthetic fill.
The repair kit
A full kit fits in a small pouch and rarely weighs more than 200 to 300 grams, which makes it one of the best value-for-weight items on a bivouac gear list where every gram is weighed up.
| Fault | Kit contents |
|---|---|
| Zip | Spare slider(s), flat pliers, dry lubricant or a stub of candle |
| Torn fabric | Self-adhesive ripstop patches in a few sizes, seam sealant |
| Pole | Repair sleeve (often supplied), strong fabric tape |
| Shock cord | Spare length of shock cord, a bodkin or threading needle |
| Mattress | Repair patches, soapy water or the listen-in-the-dark test |
| Flysheet | DWR spray, needle and strong thread |
Test the spare slider at home, on a zip that still works, before you leave: it’s the only way to check it actually matches the tooth size before you genuinely need it out in the field.
Frequently asked questions
- How do I know if the problem is the slider or the zip itself?
- Watch the teeth just behind the slider once it has passed. If they stay open while looking otherwise fine, the slider is worn and no longer squeezes them shut. If teeth are missing, bent or flattened, the zip itself is damaged, and a new slider will not fix that.
- Should a fabric tear be glued or sewn?
- A self-adhesive ripstop patch is enough for a clean tear a few centimetres long, applied flat on clean, dry fabric. A ragged or long tear, or one sitting on a stress point such as a corner or a guy-line attachment, holds better sewn with a zigzag stitch and then reproofed over the stitching, because needle holes let water through just as an original seam does.
- Will a reproofing spray fix a flysheet that leaks everywhere?
- It depends what has actually failed. If water no longer beads but the fabric stays dry to the touch inside, the outer DWR coating is worn, and a fresh DWR treatment restores that for a season or two. If the inside of the flysheet feels tacky or is flaking, the polyurethane coating is delaminating, and no product recreates the original coating; you can sometimes extend the tent's life, rarely save it.
- Where do I find a replacement slider in the right size?
- The size is almost always stamped on the original slider or on the teeth themselves, usually a number between about 3 and 10. Replacement sliders that clip straight onto the tape without unpicking the zip exist, which makes swapping one out a five-minute job even on a zip that is already sewn into the gear.